
Successful Deck Refinishing and Essential Repair to a Staircase
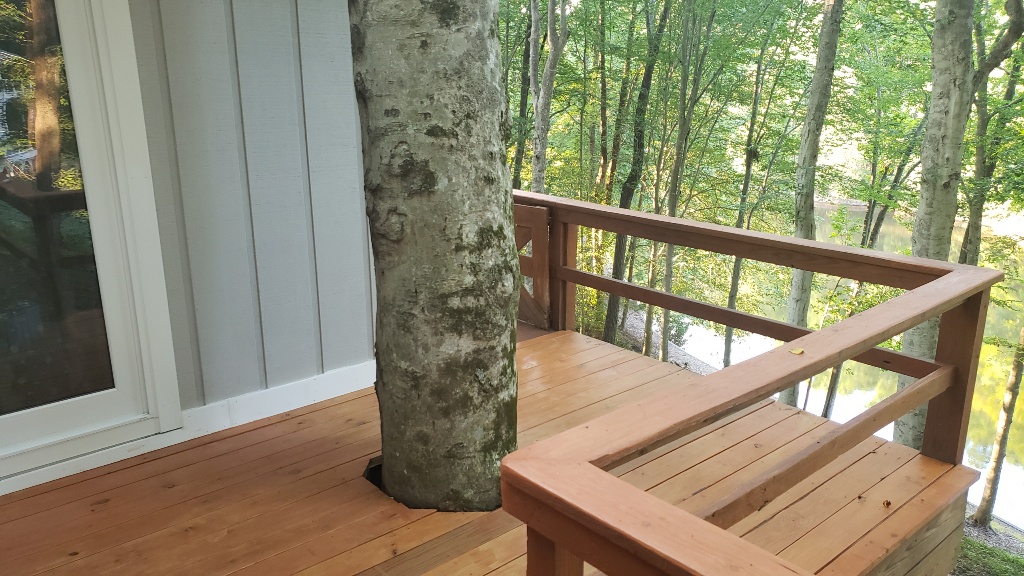
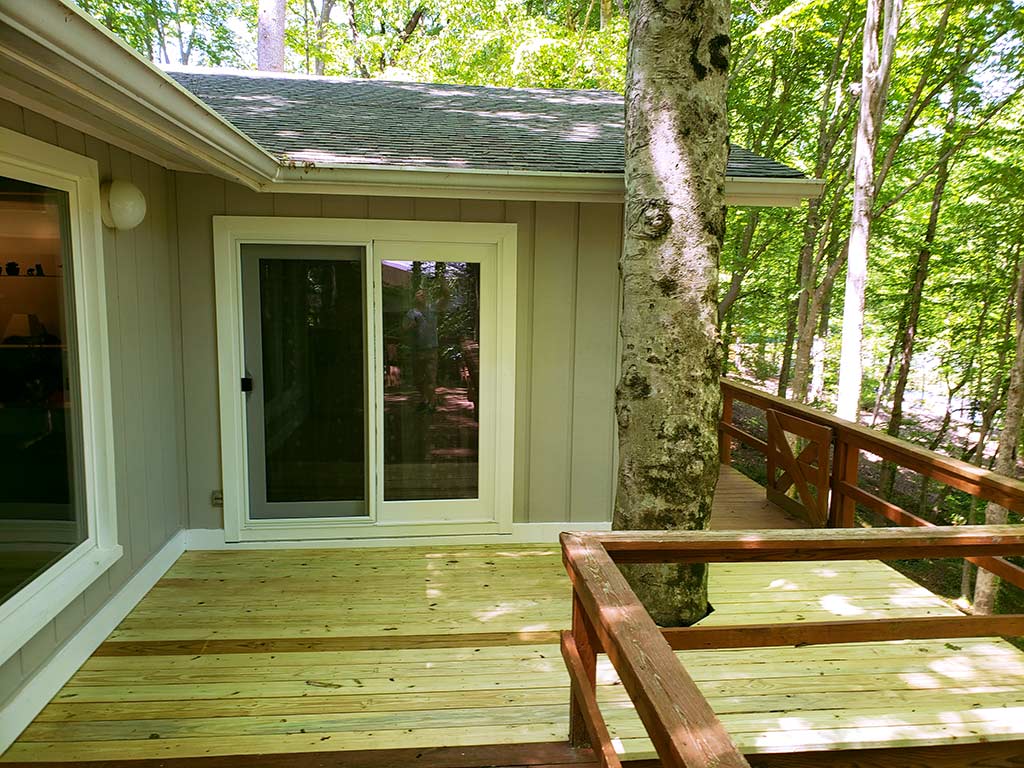
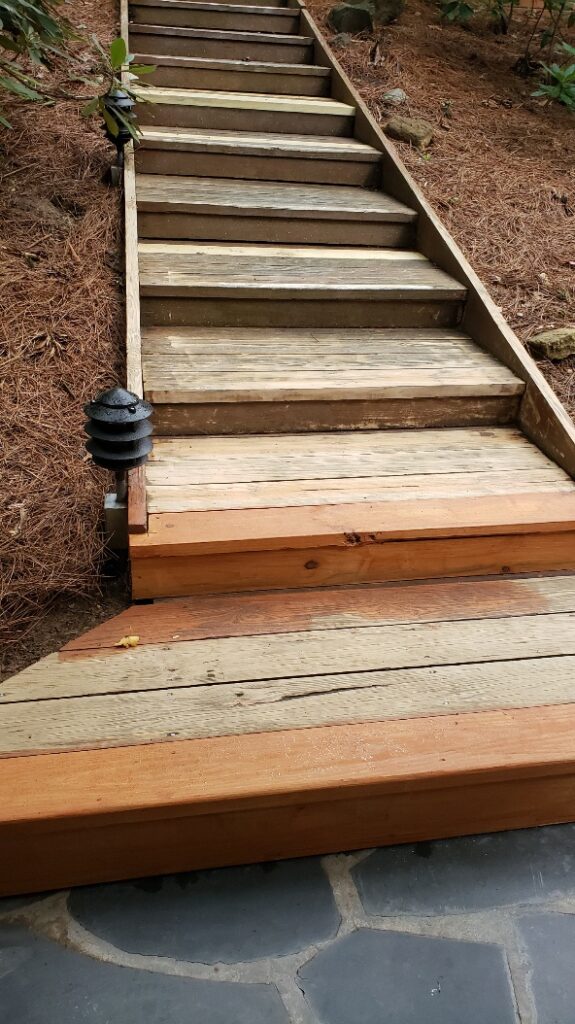
Not so long ago we set out on our deck refinishing mission. This included several essential areas on our deck and front staircase. It needed board(s) replacement, sanding of existing salvageable boards and staining as mentioned here, “Save big deck railing and general repair“. One of the challenges with this deck is the sheer size. It is roughly 1400 square feet not including the staircases. So you must take it one day at a time – it kinda forces you to. So far it’s turned out great. Phase II of the deck refinishing to start very soon.
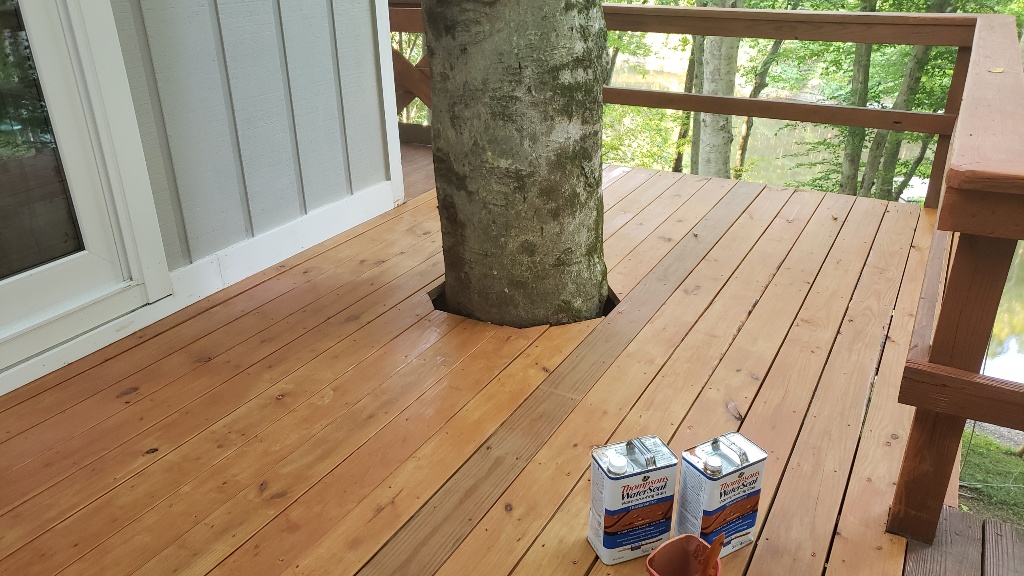
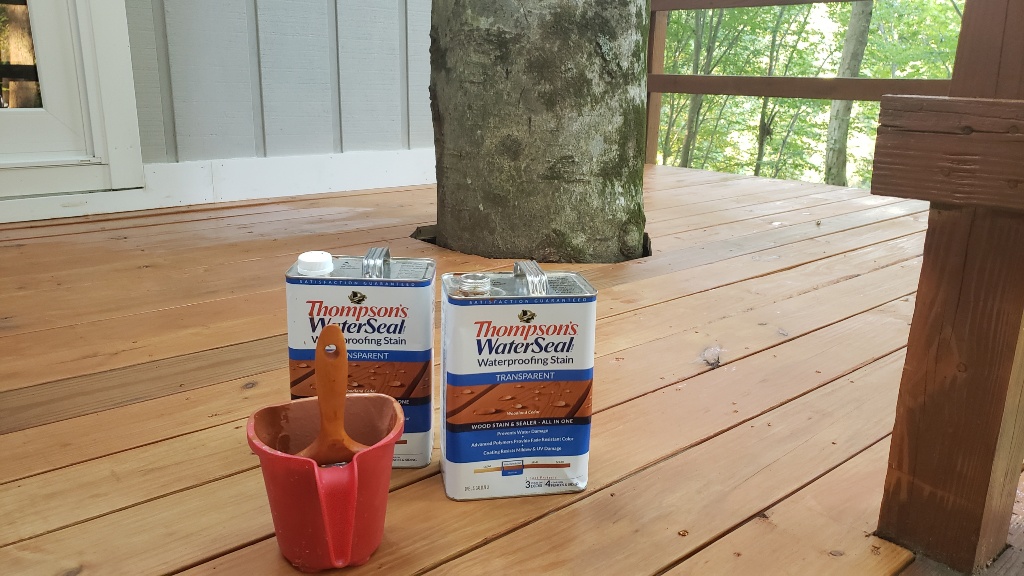
The deck stain: we decided to stay with the original deck stain color. As it turns out, it is a great contrast against the grey and white color of the house. If you have an existing deck and you are “OK” with the color, save yourself the time and don’t change the color.

We started right before July 4th on the front staircase. I started with pressure washing using a couple of products that helped to brighten up the old wood. Mold Armor E-Z Deck Fence & Patio Wash + a little Clorox Bleach. This got me to thinking how long has this decking been around?
I spoke to the previous owner and he said this wood was the original from when the additions were added in 1990. Wow this wood is over 30 years old and in a very damp environment! Most of it is in rather good condition and the guys at Home Depot said, “You know that the older wood was pressure treated with chemicals, so it lasts longer and stands up to the elements better than today’s wood.” Proof is in the pudding I guess.
Deck Refinishing – Sanding
Sanding the steps went semi quickly – on average there are 4 boards 48″ wide (2×6’s). I would say it took me about 30 minutes per step and we have 17 steps and the landing up top. I was using my belt sander with ALI INDUSTRIES 3156 Heavy Duty Resin Bond Power Sanding Belt 3″ x 24 with 3 grades of belts 50 / 80 and 120 grit. So it is a pretty fast process using a belt sander for any deck refinishing project you might have. So with that, you need to take some caution with removing the top surface of your deck boards so that you don’t over sand and make the boards uneven or wavy.
Everything was sanded and ready however, right after I finished sanding it started to rain for several days. Keep in mind we are in a wooded area and it does not exactly dry out quickly. It would take several days of ZERO rain (and full SUN) to get the steps dried out and finished up. Not that I don’t have other projects that Melanie wants me to do :).
Deck Refinishing Tips FAQ:
-
Can you sand against the wood grain?
A common question many people have. The standard answer is NO, as it can ruin the surface of the wood. To fix and correct you need to sand multiple layers off to remove all of the cross “scratches” on the grain.
-
Is there an exception to the rule of sanding against the wood grain?
YES – if you are sanding exterior wood surfaces the finish is not as fine as your interior wood. Not only that but if you are doing a deck refinishing project you may and need to use this method if you have several layers to remove. Never say never!
-
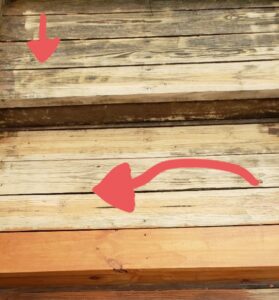
Example 1 sanding against the grain
In this example, I turned the Sander sideways to get next to the rail running down the steps. This was the only practical way vs. hand sanding. Otherwise it would have been a very long process.
-
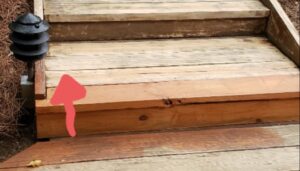
Example 2 sanding against the grain on a step edge
Sometimes when you have a high traffic area you have substantial wear on a board or two – you can go against the grain. IF you do – I would recommend using 120 grit sandpaper. For example, the previous owner painted white marks on the edge of the steps. While this helps with you walking down the stairs it does not help when you are re-staining everything. I used 120 and it quickly removed the paint and any other stubborn dark areas of the wood. Then I went back with the grain using 80 grit.
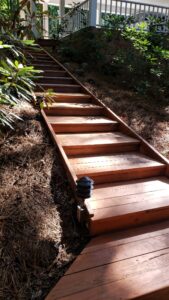
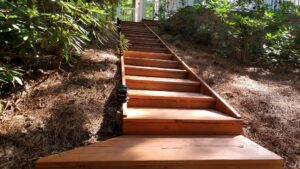
Once it was dry enough I proceeded to stain away. Just in time it seems as the squirrels were dropping acorns all over the place! Overall the staircase will work for now and it is totally presentable and it gets the thumbs up for this project. Long term for this staircase will be to encase it with timbers and have concrete in the middle (our thought today). Here is a closer shot of the staircase after 2 coats of stain.
There is always more to do and more being done – stop by the blog homepage to see more of our projects.
Until next time!

