3D Printer – Replace VINTAGE Mid-Century Shower Faucet Handles
When you have an older Mid-Century home like ours, you will have old things that will need to be replaced. Specifically hardware like door handles, hinges, faucets, wall plates etc, etc, that will need updating or replacing. The list literally goes on forever. The good news, many items can be easily replaced, like door hinges and electrical wall outlets as seen in our previous posts. However, not all things can be so easily replaced like bathroom hardware. Mainly due to the fact these are items made during period “X” and the replacement units or parts may no longer be available.
Case in point, we have a shower that has vintage Delta solid brass hardware and handles. When searching for replacement parts, I was able to find ONE example on eBay a while back. It was new in the box and listed for $3800. So while I could replace the whole unit to address a couple of cosmetic and physical issues, it was cost prohibitive.
Replace Vintage Bathroom Faucets and Shower Hardware 3D Printer style
A friend of mine (JP) was over during Christmas (an annual trip during the winter they visit us, and we head their way during the summer). He is a pretty crafty guy and always is tinkering with multiple items. He has a car blog that he is working on an MG at the moment – you can check out his blog here.
In the lower floor where they stay, is a bathroom that does not get used too much outside of the sauna. He noticed a shower handle missing the ceramic portion (the ceramic part failed, cracked and broke apart). He immediately thought it could be a good challenge to try on his 3D printer. Essentially replicate the ceramic portion of the handle. So that is what he did… how did they turn out?
Creating the Prototype 3D Printer Faucet Handle
This process is pretty neat and from an engineering perspective. If you have been hiding under a rock you may not know that there are practical purposes for 3D printers. Many home units are available. I assembled a list of them on Amazon for reference. There are huge communities around where people share designs they have created and are free to download and “Print”. In this case JP had plenty of equipment for this specific task. He started with creating a prototype and entering it into a 3D software to interpret the design and measurements.


Once you have everything entered into the computer, along with a couple of checks and balances then you can start to print a prototype.


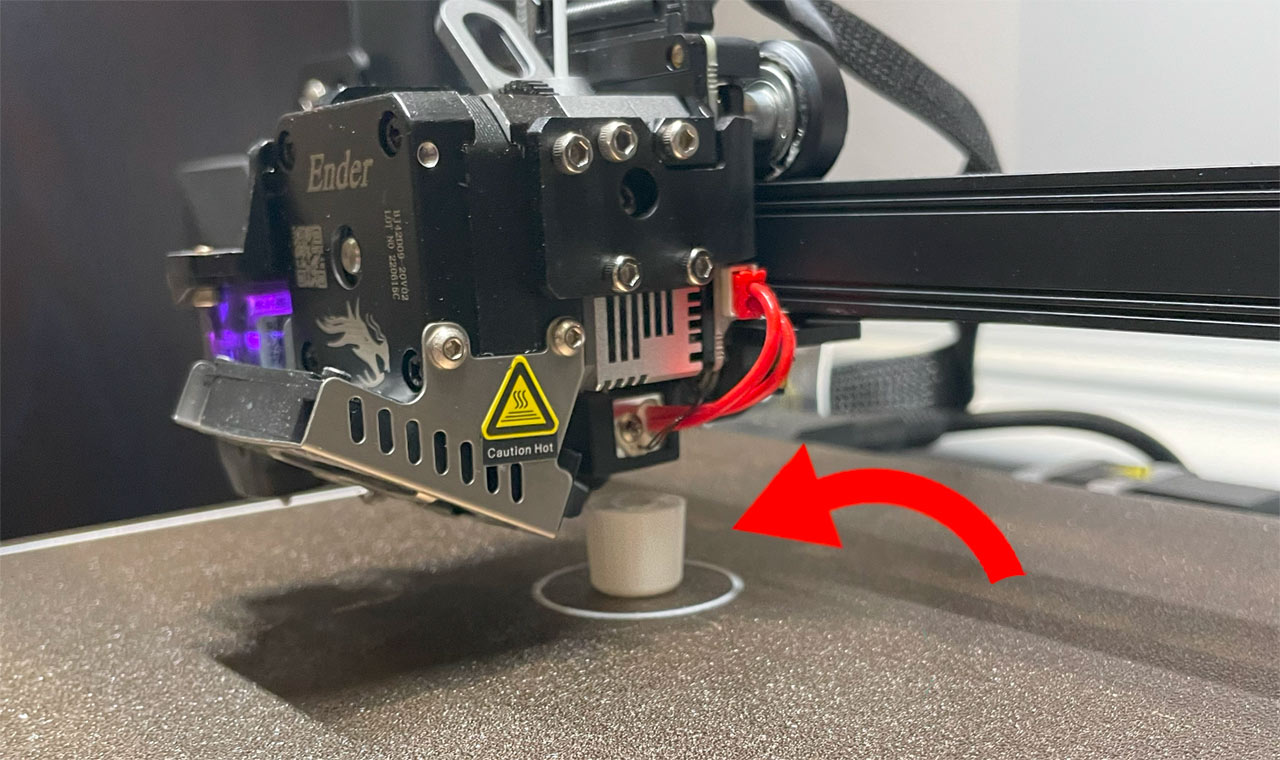
Here is a short clip of the 3D printer in action.
Final Validation and Printing of the 3D Faucet Handles
Now that the prototype is validated JP proceeded to print the handles in a white material vs. the black prototype material.
This material turned out perfectly to replicate the handles. Keep in mind 3D printing does not create a perfectly smooth surface but it does allow for a exact duplicate with the proper patience and effort to measure and enter all of the values.


In order to make it perfectly smooth, I could go in and sand each handle down slightly. Then you can also polish it up some. Another idea would be to paint them as well with a couple of coats of paint. I may actually try that and see if it would adhere properly. Overall the material is a little porous and it could / does absorb water. So beyond a was on the surface this maybe something we want to try.
So at some future point we may renovate all of the hardware (complete restore) or complete replace. One of the many things we need to do! However, it is nice to know that other options in restoring the hardware are now in play. We don’t have to pay $3K just for a replacement now that parts are no longer available. I think I need to buy a 3D printer too, the possibilities are endless especially with a Mid-Century house… Thanks for stopping by.
Until Next Time!


