
How to Restore or Change Stained Grout Color in Seconds
If you have tile flooring in your home or office, then you know the importance of keeping the grout lines clean. Over time, grout can become stained, making your floors look dirty and unattractive. Stained grout caused by a variety of factors, including spills, dirt and grime and just regular mopping / cleaning the floor. Over time, your water (if you live in an are with hard water) can stain light colored grout or just the process of mopping the floor can make the grout have mildew and discolor it. If you’re dealing with stained grout, don’t worry; it’s not too difficult to restore it to its original condition.
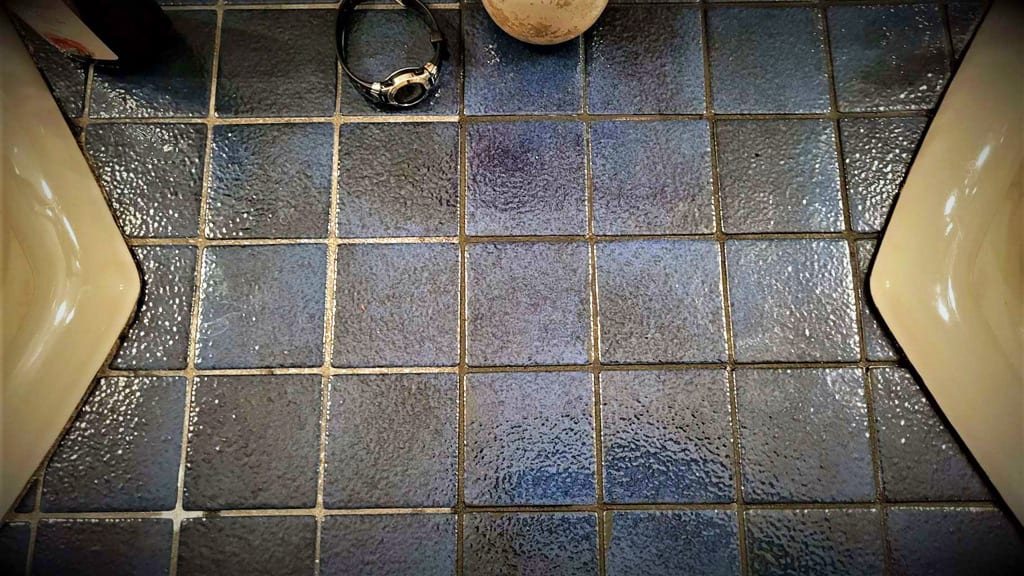
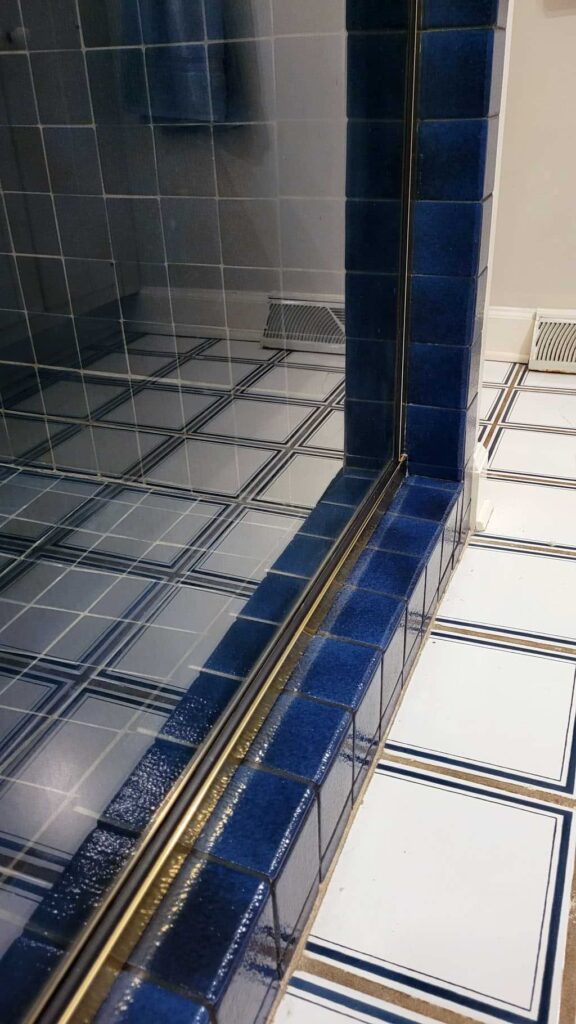
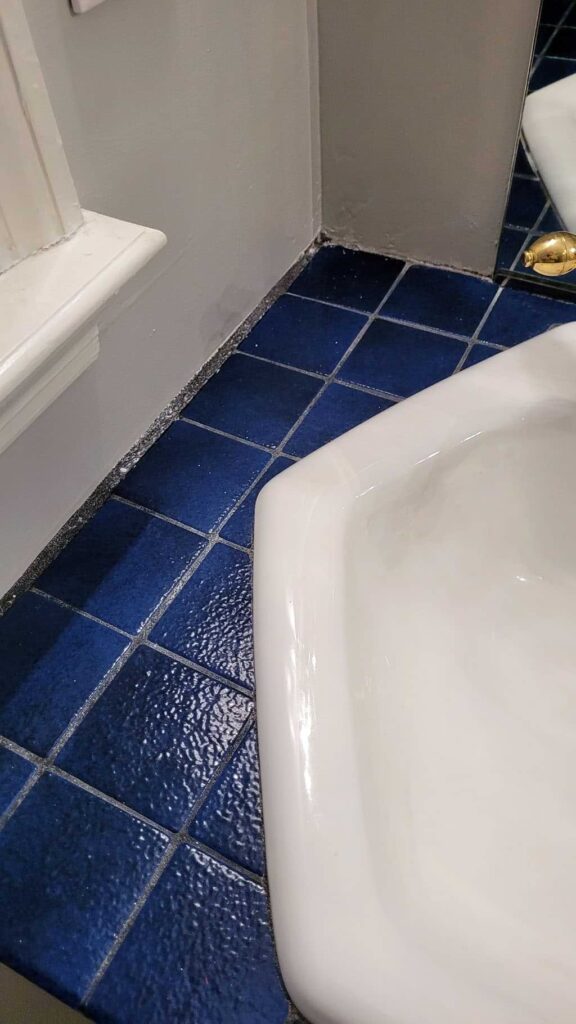
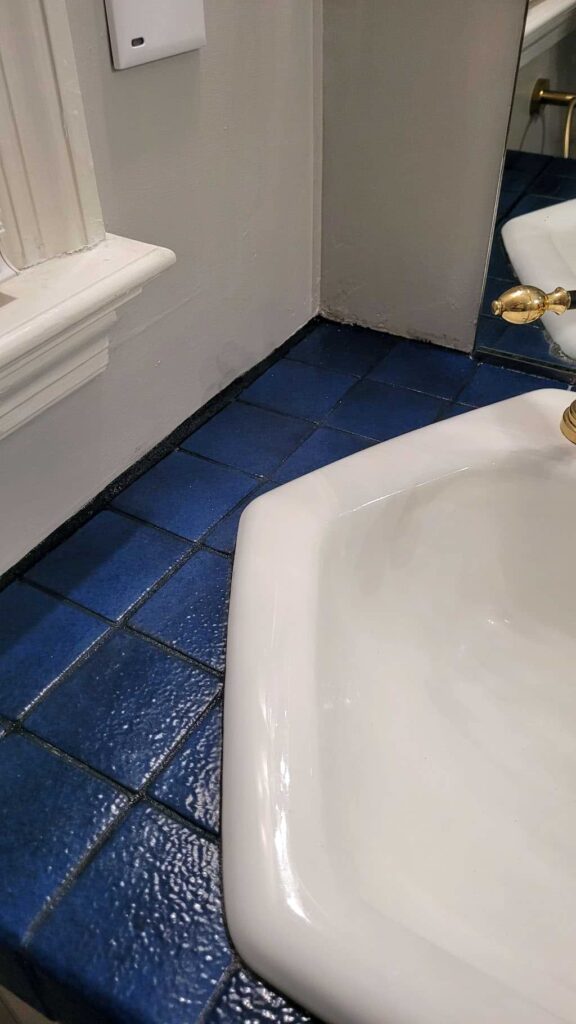
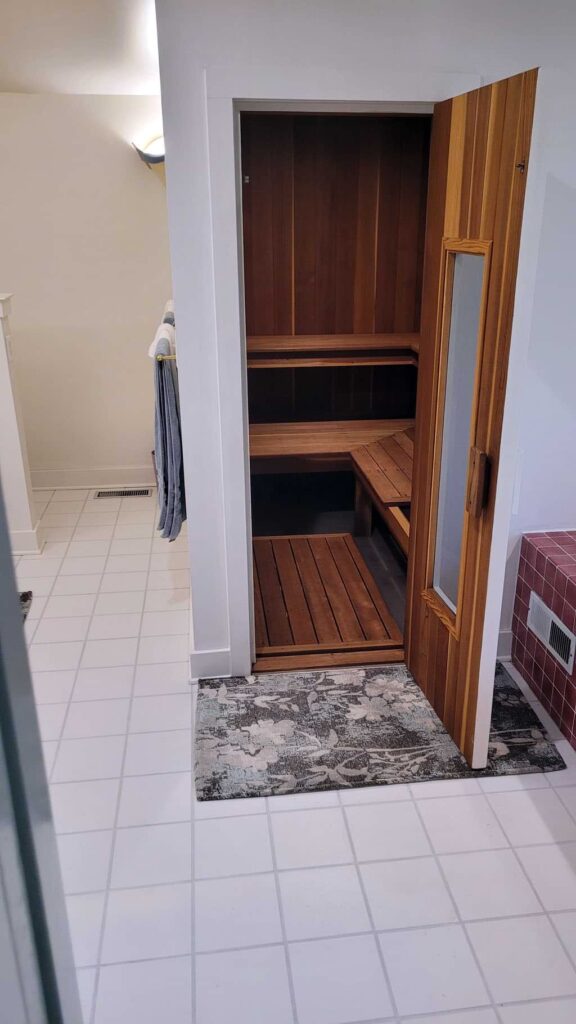
We had two spots that needed attention in our Mid-Century Modern house that is covered in our post today. Our Brass and Blue bathroom that is used by our daughters and then the basement bathroom that is more or less a spa. It has a large jetted tub, a shower and a sauna!
Select a Path to restore or change your grout color
Products We Used To Improve Grout Color


How to Properly Clean Grout to Restore the Original Grout Color
While it might seem really easy to clean grout, as it is basically just sand / mortar and color. However, the reason why it does not clean well is for two primary reason. A. The type of cleaner you are using and B. the type of brush you use. The first step in restoring stained grout is to clean it thoroughly. There are many different products on the market that are designed specifically for cleaning grout. Some of these products are chemical-based, while others are natural. Regardless of the type of product you choose, it’s important to follow the instructions carefully to avoid damaging your tile or grout.

Total Time Needed :
30
Minutes
Total Cost:
35
USD
Required Tools:
Things Needed?
Steps to configure the How-to Schema:

One natural method for cleaning grout is to mix equal parts water and white vinegar in a spray bottle. Spray the solution onto the grout lines and let it sit for a few minutes. Then, use a scrub brush to agitate the grout and remove any dirt or stains. Rinse the area with clean water and dry it with a clean towel.
Another effective natural cleaner for grout is baking soda. Mix a paste of baking soda and water, and apply it to the stained grout lines. Use a scrub brush to work the paste into the grout, and then rinse with clean water. You can also use a steam cleaner to clean your grout. Steam cleaning is a chemical-free method that uses hot water vapor to sanitize and clean your grout. It’s also an effective way to remove dirt and stains.

We have found the natural products are great for “normal” maintenance cleaning – however the first time you need something like 30 Seconds Indoor cleaner. Take the cleaner and get a bucket filled with a small amount of water at the bottom. Focus on an area of about a 2 foot circumference and begin to spray the grout. It does not matter if you get the cleaner on the tile (after all you are there to clean anyway). Let the cleaner penetrate for about 5 minutes then take the tile brush and make long strokes over the grout. You should see immediate changes to the color of the grout.

Now take a sponge and “mop” up the dirt from scrubbing the grout and tile. Try to remove as much cleaner and water as possible to help it setup to dry.

Once you have cleaned your grout, you can restore its color by using a grout sealer. Grout sealer is a protective coating that helps to prevent stains and discoloration. It also makes your grout lines easier to clean in the future. There are many different types of grout sealers on the market, so it’s important to choose the one that’s right for your needs.
To apply grout sealer, start by ensuring that your grout lines are completely dry. Apply the sealer with a small brush, making sure to cover all the grout lines. Allow the sealer to dry for the recommended amount of time, and then apply a second coat if necessary. Be sure to follow the manufacturer’s instructions carefully to ensure that you apply the sealer correctly.
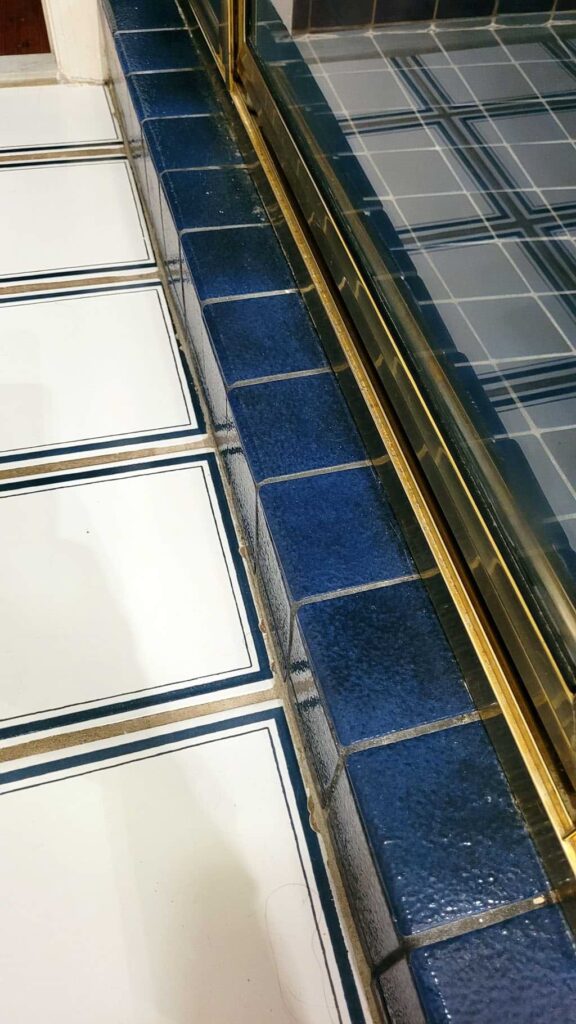
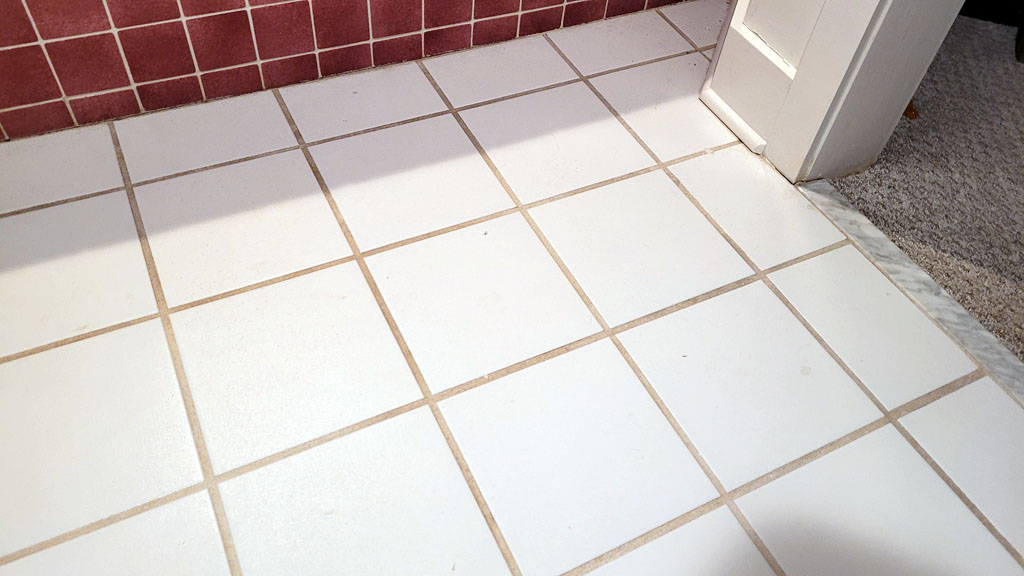
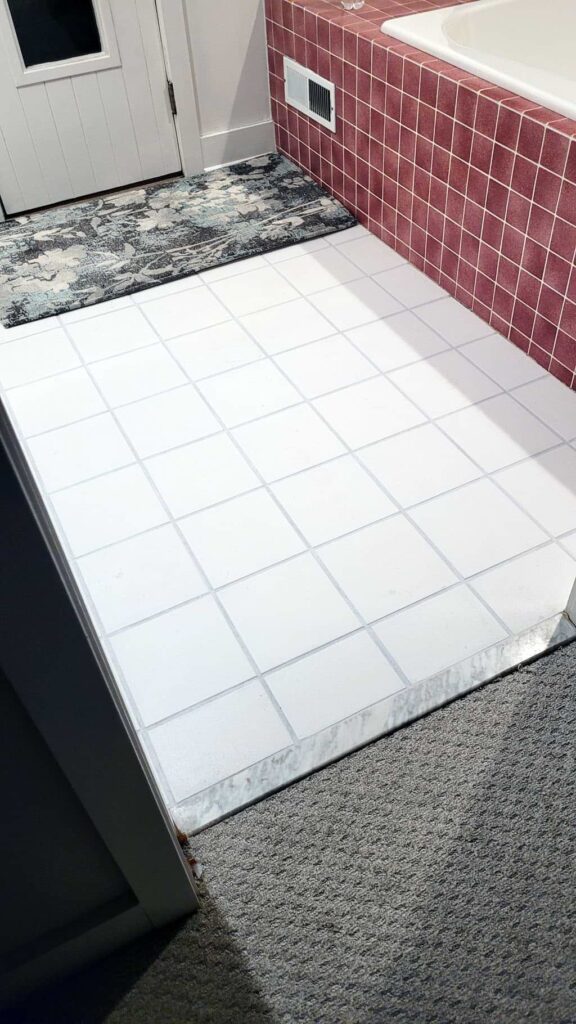
Before and After of Our Shower Grout Color change
Is Your Gout Still Not Clean or The Proper Grout Color?
If your grout is still stained after cleaning and sealing, you may need to consider more drastic measures. In the above photo, we have hard water and after cleaning it would leave the darker grout color a light or stained appearance. One option is to replace the stained grout entirely. However that is not practical to remove the grout to do this, it would almost be easier to take up the entire floor and start from zero. Years ago I have tried this by painting dye but it never seemed to work well. Luckily today, there is an alternative to dye the grout the color you want in minutes!
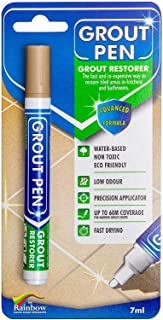
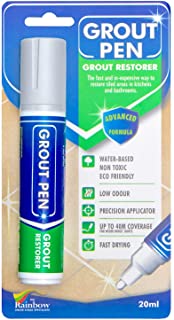
How to Change Grout Color Using Simple Dye Pens
Grout stain is a type of coloring that is designed to penetrate the surface of your grout and change its color. Grout stain can be used to cover up stains and discoloration, or to change the color of your grout entirely. There are many different colors of grout stain available, so you can choose the one that best matches your tile.
To apply grout stain, start by cleaning your grout thoroughly and allowing it to dry completely by using the steps above (minus step 4 of sealing the grout). The cleaner the better as it will let the dye / stain soak into the surface and give a nice even coat of the new (or old) color you selected.
The amount of time will of course vary based on how big of a space you are coloring. The good news? If you liked coloring books and or using markers as a kid you got this…

Total Time Needed :
1
Hour
10
Minutes
Total Cost:
$30
Things Needed?
Steps to configure the How-to Schema:

I know, who wants to clean the grout -can’t I skip cleaning it first. Well the honest answer is yes but if you want a uniform color and surface you need to clean it.
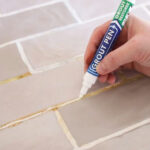
This maybe the easiest thing you do today. Make sure to take the dye pens and shake them thoroughly. You want to prep the pen for continuous flow of the dye. Now take the tip of the pen and press it several times in a corner of the grout until you start to see the dye flowing into the tip.
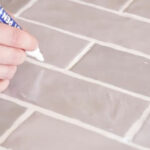
Now that the pen tip is ready, you can start tracing the dye pen over the grout. I started using a handful of paper towels as I went to clean up right away and dye that spilled over to the tile. I recommend doing this NOW vs. later or it will be a pain to clean later. Take your time and focus like you did tracing lines in kindergarten and you will be just fine. No teachers are around today to correct you, but you will have to look at your work in the future. If necessary, you can apply a second coat of stain to achieve a darker or more exact color (keep that in mind when ordering as changing from a darker color to a lighter one may take more product). I used two large pens in our lower bathroom with the white tile.
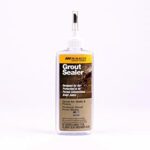
The dye pens have a sealer included with them and they say there is no need for further protection. However, knowing the surface is porous it is not a bad idea to follow up with a simple sealer product. Especially around areas that are prone to get wet.
FAQ
Gallery Before and After
Restoring stained grout is a process that requires time and patience, but the results can be well worth the effort. By using a combination of cleaning, sealing, and staining techniques, you can restore your grout to its original condition and make your tile flooring look like new again. Whether you choose to change a color or just renew the color these are a perfect solution to an eyesore.
Until next time!


Hey Daddy-O, don't Agitate the gravel (leave quickly), stick around and say something…