
How to remove glued and nailed down Particleboard – TIME SAVER!
IF you have ever tried to remove glued and nailed down Particleboard you will find it a literal nightmare. I tried and tried to remove our particle board when replacing it in our dining room for wood floors. After hours of viewing and researching, I came across this one small video and a couple of other web sites (I SHOULD HAVE WRITTEN DOWN WHO. However, when you are working to project job done, you forget). I hope this saves you time and frustration on a very painful job!
Particleboard is the most inexpensive material commonly used as sub-flooring. Unlike plywood or oriented strand board, or OSB, particleboard is not moisture resistant. Exposure to moisture will make the board swell and start to crumble to pieces. Why you ask? Well Particleboard is basically a mixture of sawdust and resin glue formed into a sheet. When working with this material (Removing it) Make sure to wear a particle mask. It turns to dust quickly and becomes annoying to those things you have, lungs.
YouTube Feedback: “Remove glued and nailed down Particleboard”
The below quotes are from my YouTube video of this process. It seems it was a topic MANY people are searching on to try and find a way to remove particle board that is glued and or overly nailed down. Some of these ideas could help in your situation.
“This is BRILLIANT! Thank you. My husband and I removed some 3/4″ particle board from 2 rooms to level out some floor boards, omg, exhausting work for 60 somethings, lol. We found that most of the floor boards were not even completely nailed or screwed down (explaining all the creaking). We were not going to remove the particle board from one other room because of the frustration, but today, we decided we just can’t ignore the creaking that is probably the result of unsecured floor boards. I think your method will make this a breeze! Our boards are not glued, but there are a million nails. We will find out tomorrow. Thank you for sharing!”
From YouTube
“I had to remove a lot of 3/4″ particle board sub floor that was glued and stapled directly to the floor joists in my house, talk about frustration. They used a lot of glue and thousands of 2″ staples. After trying everything, what worked the best was to cut it in chunks between joists, pulling the staples out by hand with fencing pliers and using an angle grinder with a metal sanding wheel (the ones with a bunch of little sandpaper pieces stack together) and sand the glued particle board down to the joists. Took me a few days but it worked way better than anything else I tried.”
From YouTube
“what I found was to use the circular saw and cut in between the rows of nails, then I used a long heavy bar with a chisel edge on it. I would slide it across the sub floor and slam into the particle board and it was coming up in rows. It did break at each nail, so the sizes were 4”x5” at best but it was faster. There are about 200-250 harden steel spiral nails in each sheet, I thought about the hole saw but that would have been slower with all the nails. Ramming the chiseled bar into it would break some of the nails while the others were easily pulled. The section that’s going to really suck is one end of the room has 2 closets each with a recessed shelf area facing the room and the closet doors are pocket doors, all this was built over the particle underlayment. I do have a toe kick saw and fine tool to get close to the edge but running the circular saw across it in a tight space won’t be easy. Ahh, the fun of remodeling!.”
From YouTube
STEPS ON HOW TO REMOVE PARTICLE BOARD
Total Time 20×20 room: 8 hours and 30 minutes
1. REMOVING CARPET OR OTHER FLOOR
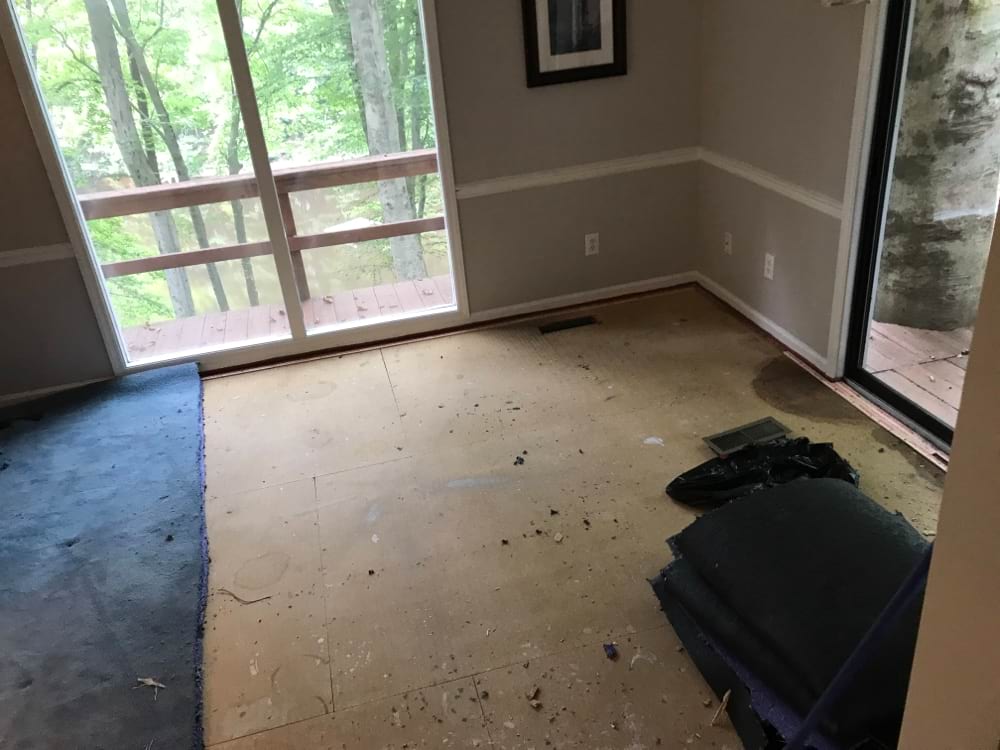
No matter what top surface you have, plan to get it out of your way as best as possible. We had carpet that was needing to be replaced. Not a huge job but it was needed to be removed.
2. USE A HOLE SAW
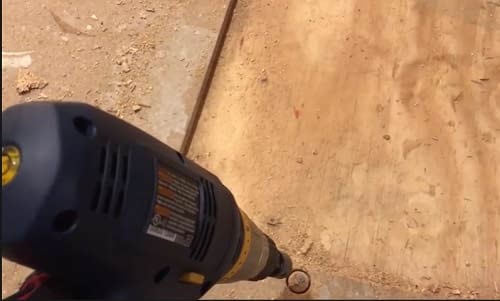
Looking at your particle board, locate the screws or nails that are securing the board to the floor. Take your hole saw and cut out around the nail to “free up” the particle board. Go to every screw and cut it out with this method
3. Take Yard Fork To Pop Up Corner
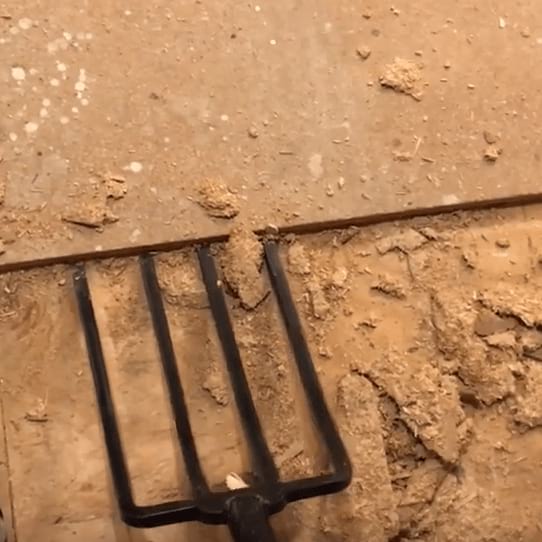
This step is really the game changer. I tried shovels, picks, pry bars etc. etc. – trust me I tried them. However the issue is one of two things that a yard fork solves.
A. It needs to span across a wide area.
B. You want to get up as much at once as possible.
C. The glue is not even across the surface.
D. You have multiple nails and need to get in between them.
4. Sand Remaining Glue
The one thing your parents never told you. When you get to a certain point, there is still clean up needing to be done. For earlier reasons stated, Particleboard is made up of sawdust. So when the glue interacts with it, the porous nature allows the glue to seep into the board. Sometimes glue and part of the “dust” is left glued to the floor. I used my belt sander and 80 Grit paper. It cleaned it up in no-time. Make sure to have that mask handy!
5. Finish Up

You are essentially done, however that does not mean further prep for your new floor is done. Make sure any nails are removed from the hole saw that you used. That the surface is overall even on the plywood floor.
Material Costs
- Hole saw kit from Harbor Frieght: $20
- Yard fork from Harbor Frieght: $20
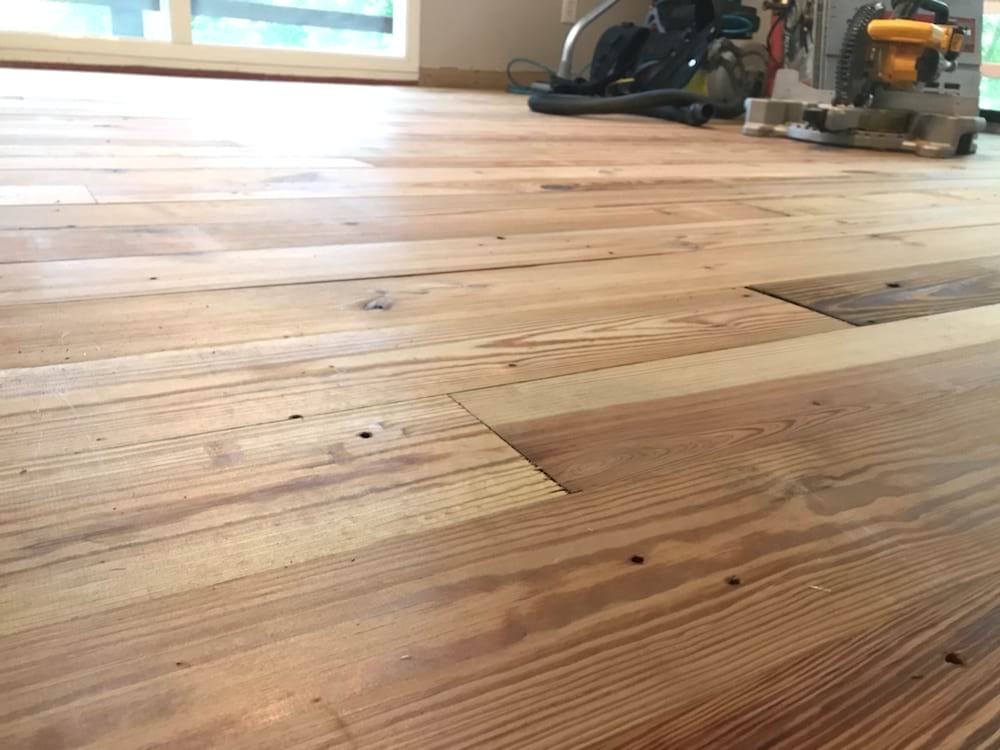
Make the surface as clean as possible for prep of the new flooring (whatever it is). We went with wood that you can see here. That floor looks so much better than the old carpet floor and we would never go back.
Thanks for stopping by, and we do hope this “How to remove glued and nailed down Particleboard” helps you on your home remodel journey.
Until Next Time!

