
Sonos Wireless or In Wall Mounted Rear Surround Sound Speakers?
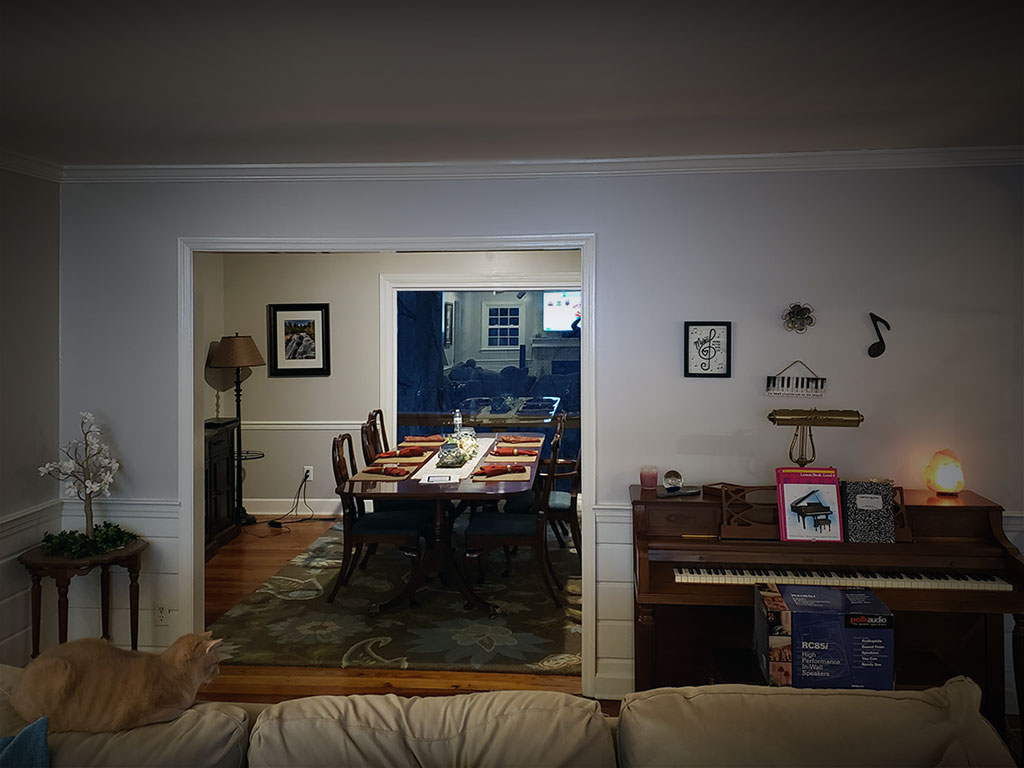
When we bought this house, one of my first thoughts centered around the living room and having a great sounding stereo with full range rear surround speakers. As you may or may not know, trends in the industry have been shaken up lately with the much improved wireless speakers. There are several brands that stand out, and one of the most common brands is known as Sonos. You can see their entire lineup on their website.
My friend Neil and I go back and forth about what could be, how the sound stage is good enough with compressed audio etc. etc. and that wireless speakers can fit the bill. Especially if you go with the Sonos products shown below.
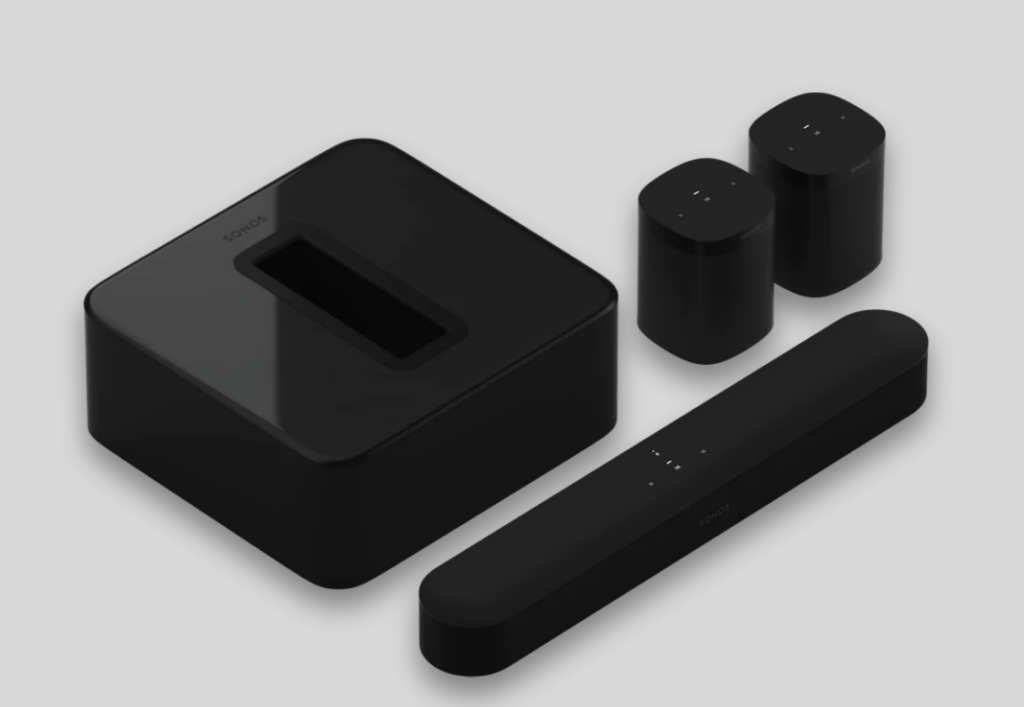
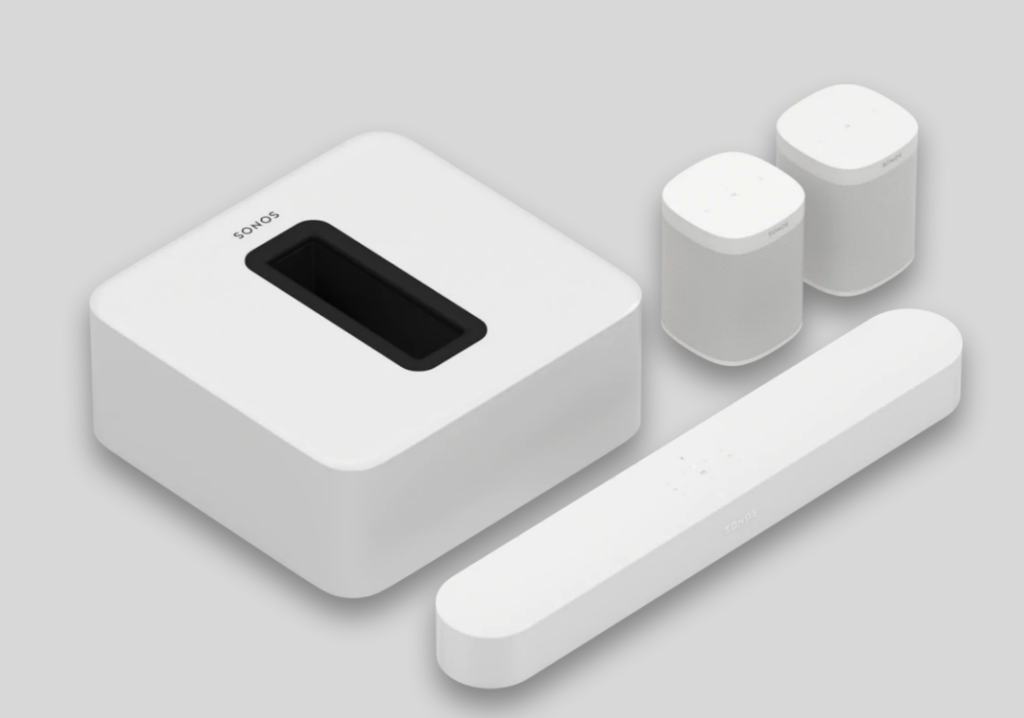
Looking at their line up there are several options. From this full 5.1 Surround Set with Sonos Beam (center channel), Sub woofer and two rear surrounds. This set starts at around $1,395. You can view all of the specifications on their site. Looking at this setup, they look like a piece of art. They look the part and they sound great. Sonos also carries larger multi-speaker speaker center channels. Add a sub woofer and you may, be just fine.
However, I already have the front all wired to work with my Pioneer Elite THX Surround receiver. I also enjoy my Paradigm Sub woofer, Paradigm Millenia 30 aluminum center channel (in black) and the two left and right speakers Millenia 200 Polished Aluminum main speakers.
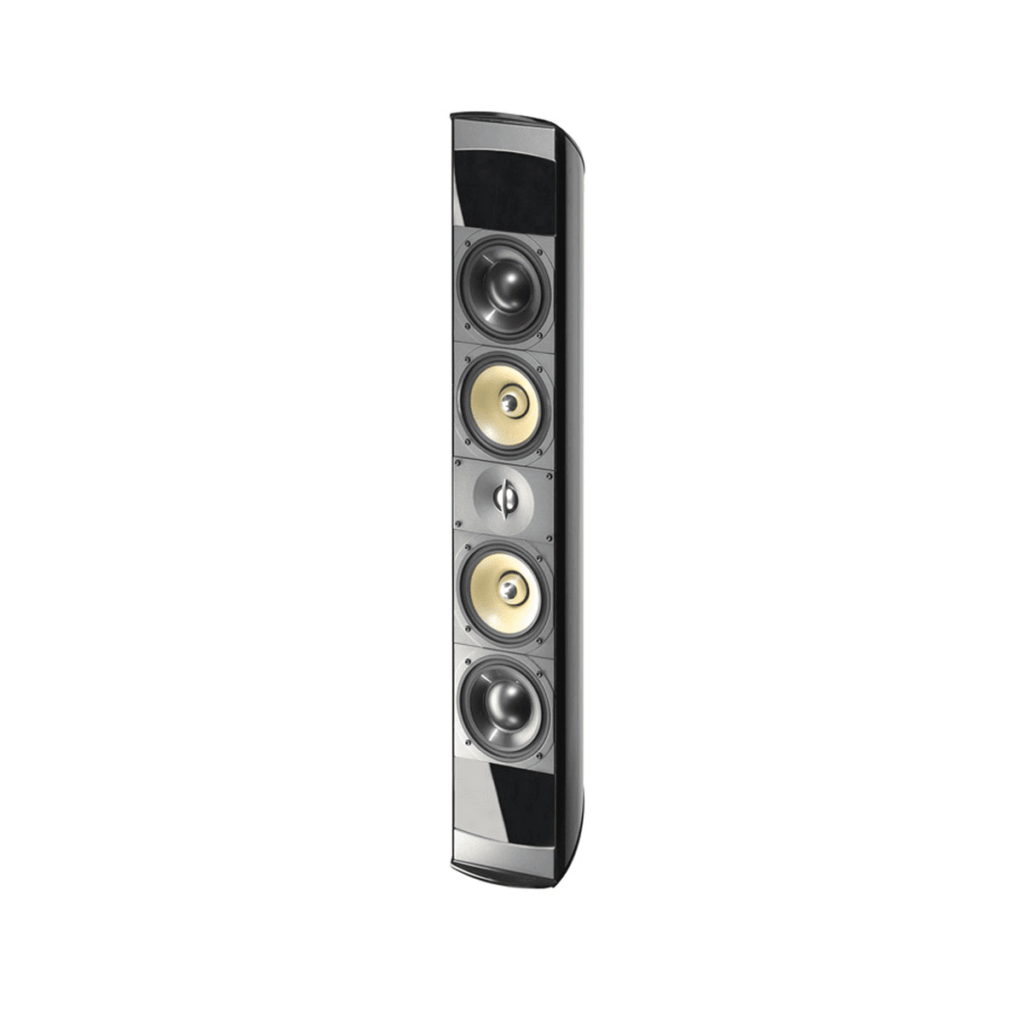
Retail $850 each
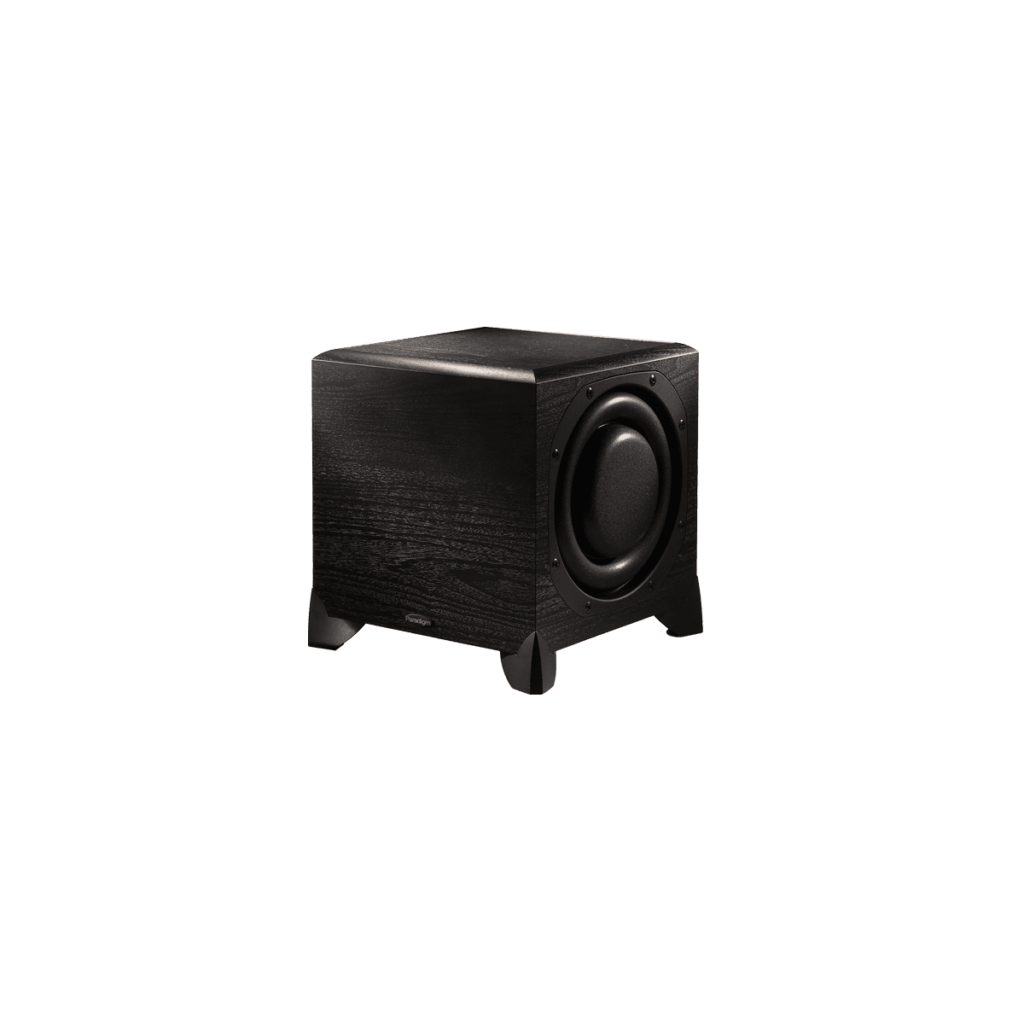
Retail $1450
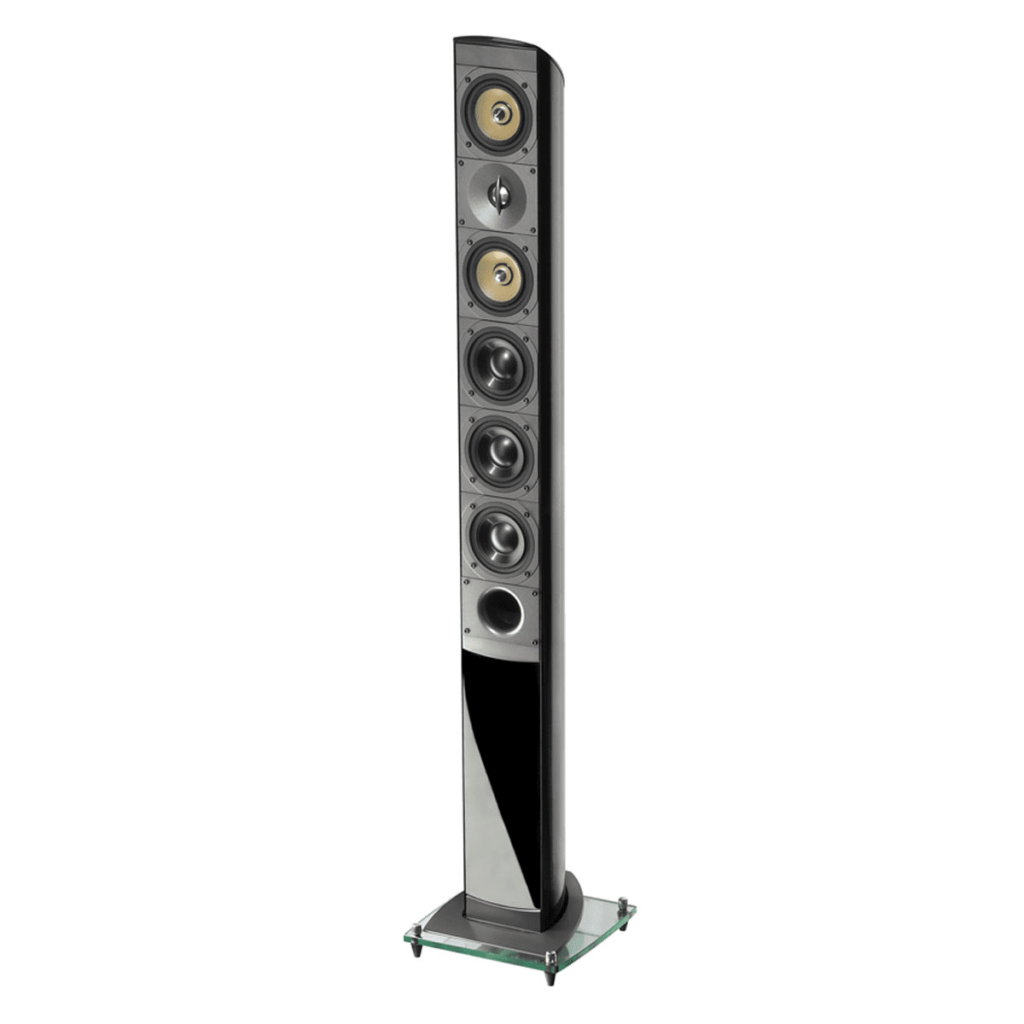
Retail $1850 each
So while I could sell my Paradigm speakers, I think I would really miss them. The sound-stage with these speakers is next to amazing. The only issue I have ever had, was a loose floor board near my sub woofer. It sounded like the woofer was bottoming out, but it was a loose board under the sub. I fixed that and pure amazing sound from that day forward. So no, I am not selling these things.
I stopped by Custom Home HiFi in Winston Salem, NC. to see what Jay, the owner had in stock. I will add, if you are looking for speakers, an amp or even headphones stop by their store. They have anything that is worth having. Custom Home HiFi, one of the last mid to high end audiophile stores in the triad and really on the east coast, does not carry any products that don’t meet a high standard. So no worries, just stop by and he will point you in the right direction to meet your needs. Keep in mind, this is not BestBuy made in China junk – it is QUALITY Audio equipment. It is all about a quality product that you can hear and feel the difference. By the way, they also carry some Sonos products.
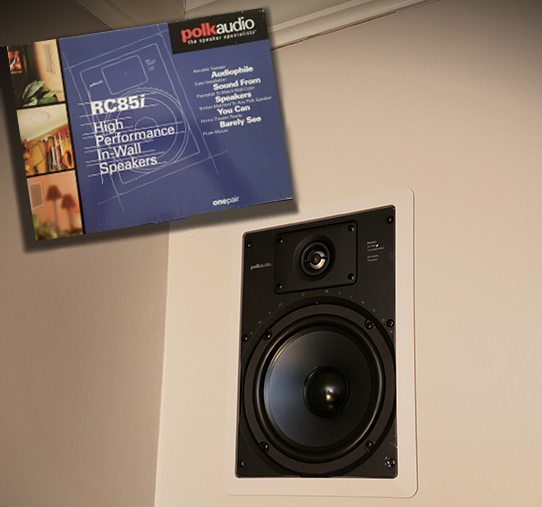
Jay had a couple of options. I was going to go for a ceiling mounted speaker – however that was not going to work as we found out the first week after buying the house. We had a project to scrape the popcorn from the ceiling. The living room has had several layers of new ceilings put in (I think the contractor counted 5. It would be very difficult to mount ceiling speakers properly. So… I ended up buying a set of Polk Audio RC85i that another customer “traded” in (new in box) for higher end units. They were the perfect size and price for my Rear Surround Sound Speaker Project. The other units I was looking at were not on the market yet and even though they were Paradigm, and would have matched I wanted to get the project moving.
Installation of our Rear Surround Speakers
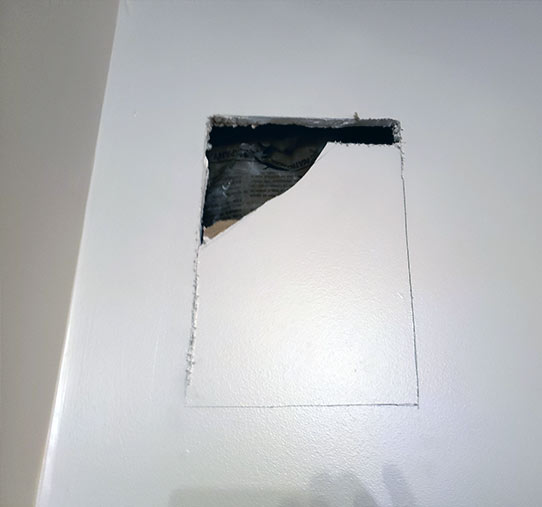
For this project it was overall very simple… There was a template for the size of the speaker in the box. I got out my trusty laser level and a measuring tape.
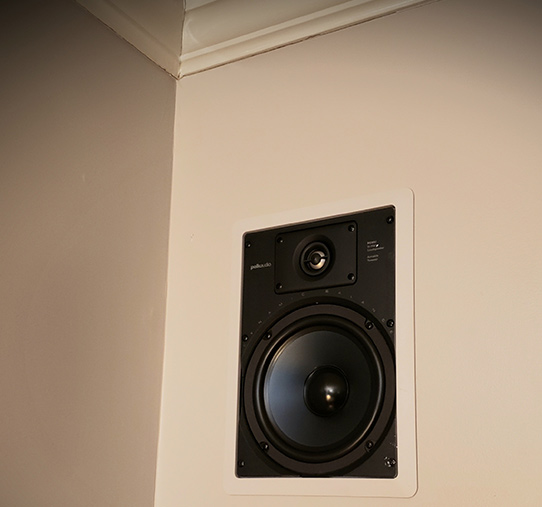
*Note it is critical you place the speakers at a minimum (for rear surround) a foot below the ceiling for proper sound staging. I put them at just above ear level if you were standing up, so almost 2 feet and some change below the ceiling.
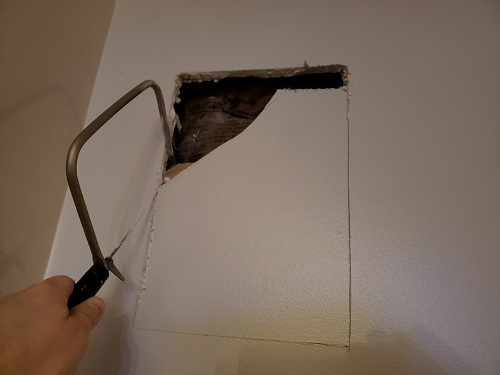
I then grabbed my trusty drill and hole saw and drilled into one of the corners that I marked out. I then grabbed my coping saw and started to cut out the hole. Make sure you stay on the inside of the box and not the outside. You can ALWAYS go back and take more off, but you can’t put it back.
Once done (not pictured), I did a quick test fit to verify the closure was correct and tight. Then prior to “mounting” them in the wall I grabbed 4 paint stir sticks and my hot glue gun. You see the way the speakers mount to the Sheetrock is by tabs that you tighten against the back side of the wall. Potentially over tightening or maybe if you take it off a couple of times, it can wear and break down the Sheetrock. So I decided up front to stabilize by hot gluing the paint sticks on the back side of the wall where the speaker clamps attach to the wall. This worked out perfectly and it made a really nice tight fit.
Now that the speakers are mounted, it is time to start getting everything wired up… This is NOT going to be an easy task to run the wires over and down the wall. Lets see how it will turn out.
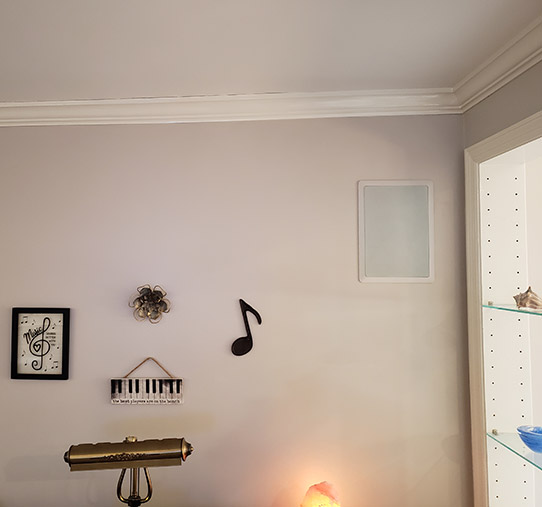
We went with a more traditional approach by selecting in wall Rear Surround Sound Speakers vs. the wireless speakers. They will add volume to our favorite listening place and should work for many years to come. On a scale of 1-10 I would give this about a 5, and ONLY a 5 just due to the sheer thought of living with the two speakers not aligned, otherwise I would give it a 3. Measure twice, mark twice to ensure they are even and you will be OK!
Cost for this project:
Speakers: $250 a pair
Paint Sticks $5
Hot Glue $0 – already had enough
Until next time when we finish up the wiring.

